Email Outreach Overview
Users can send customizable emails through the Loup platform, which drive traffic to live events and encourage purchases. There are nine types of emails that Loup sends. Except for invitation emails, every other email type is sent automatically to customers at specified times before or after the live event has ended. This article will explain how to manually send invitation emails.
Note: for greater email customization refer to our Klaviyo Integration.
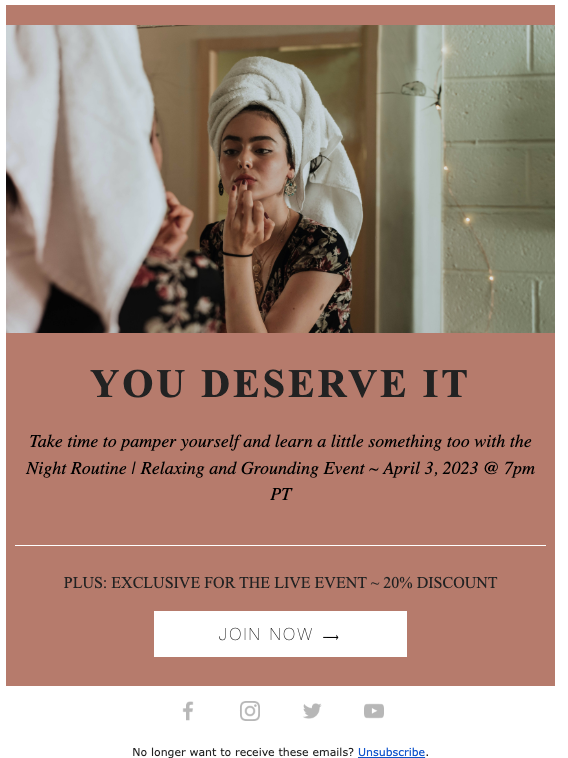
How to Send Invitation Emails
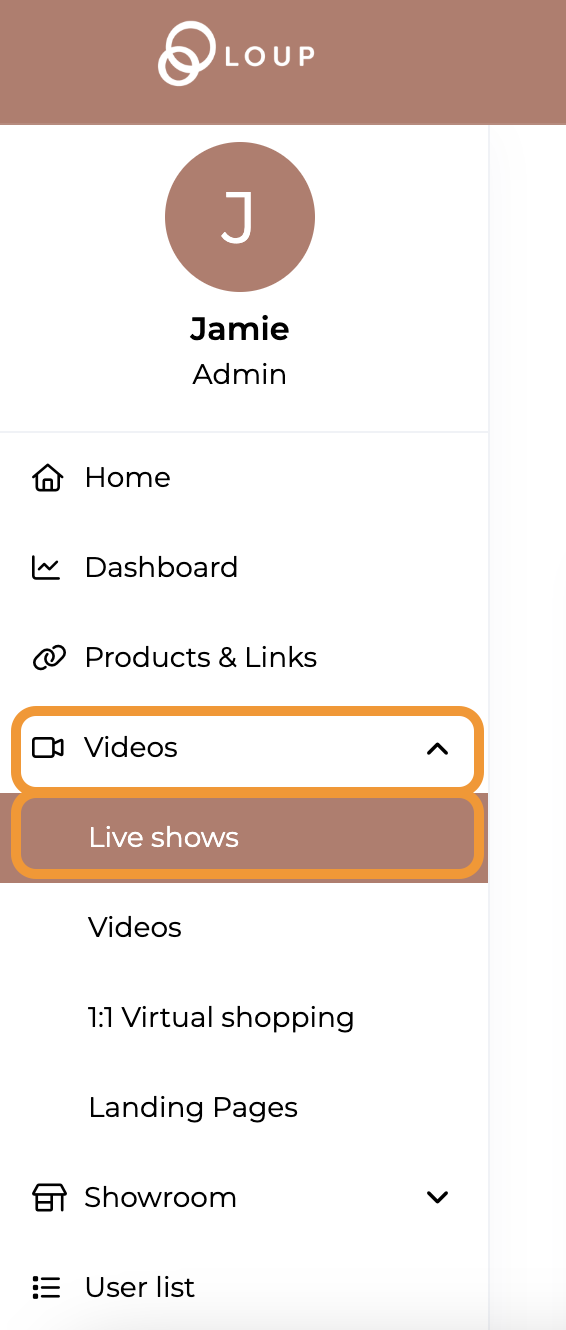
1. On the left sidebar, navigate to Videos > Live Shows
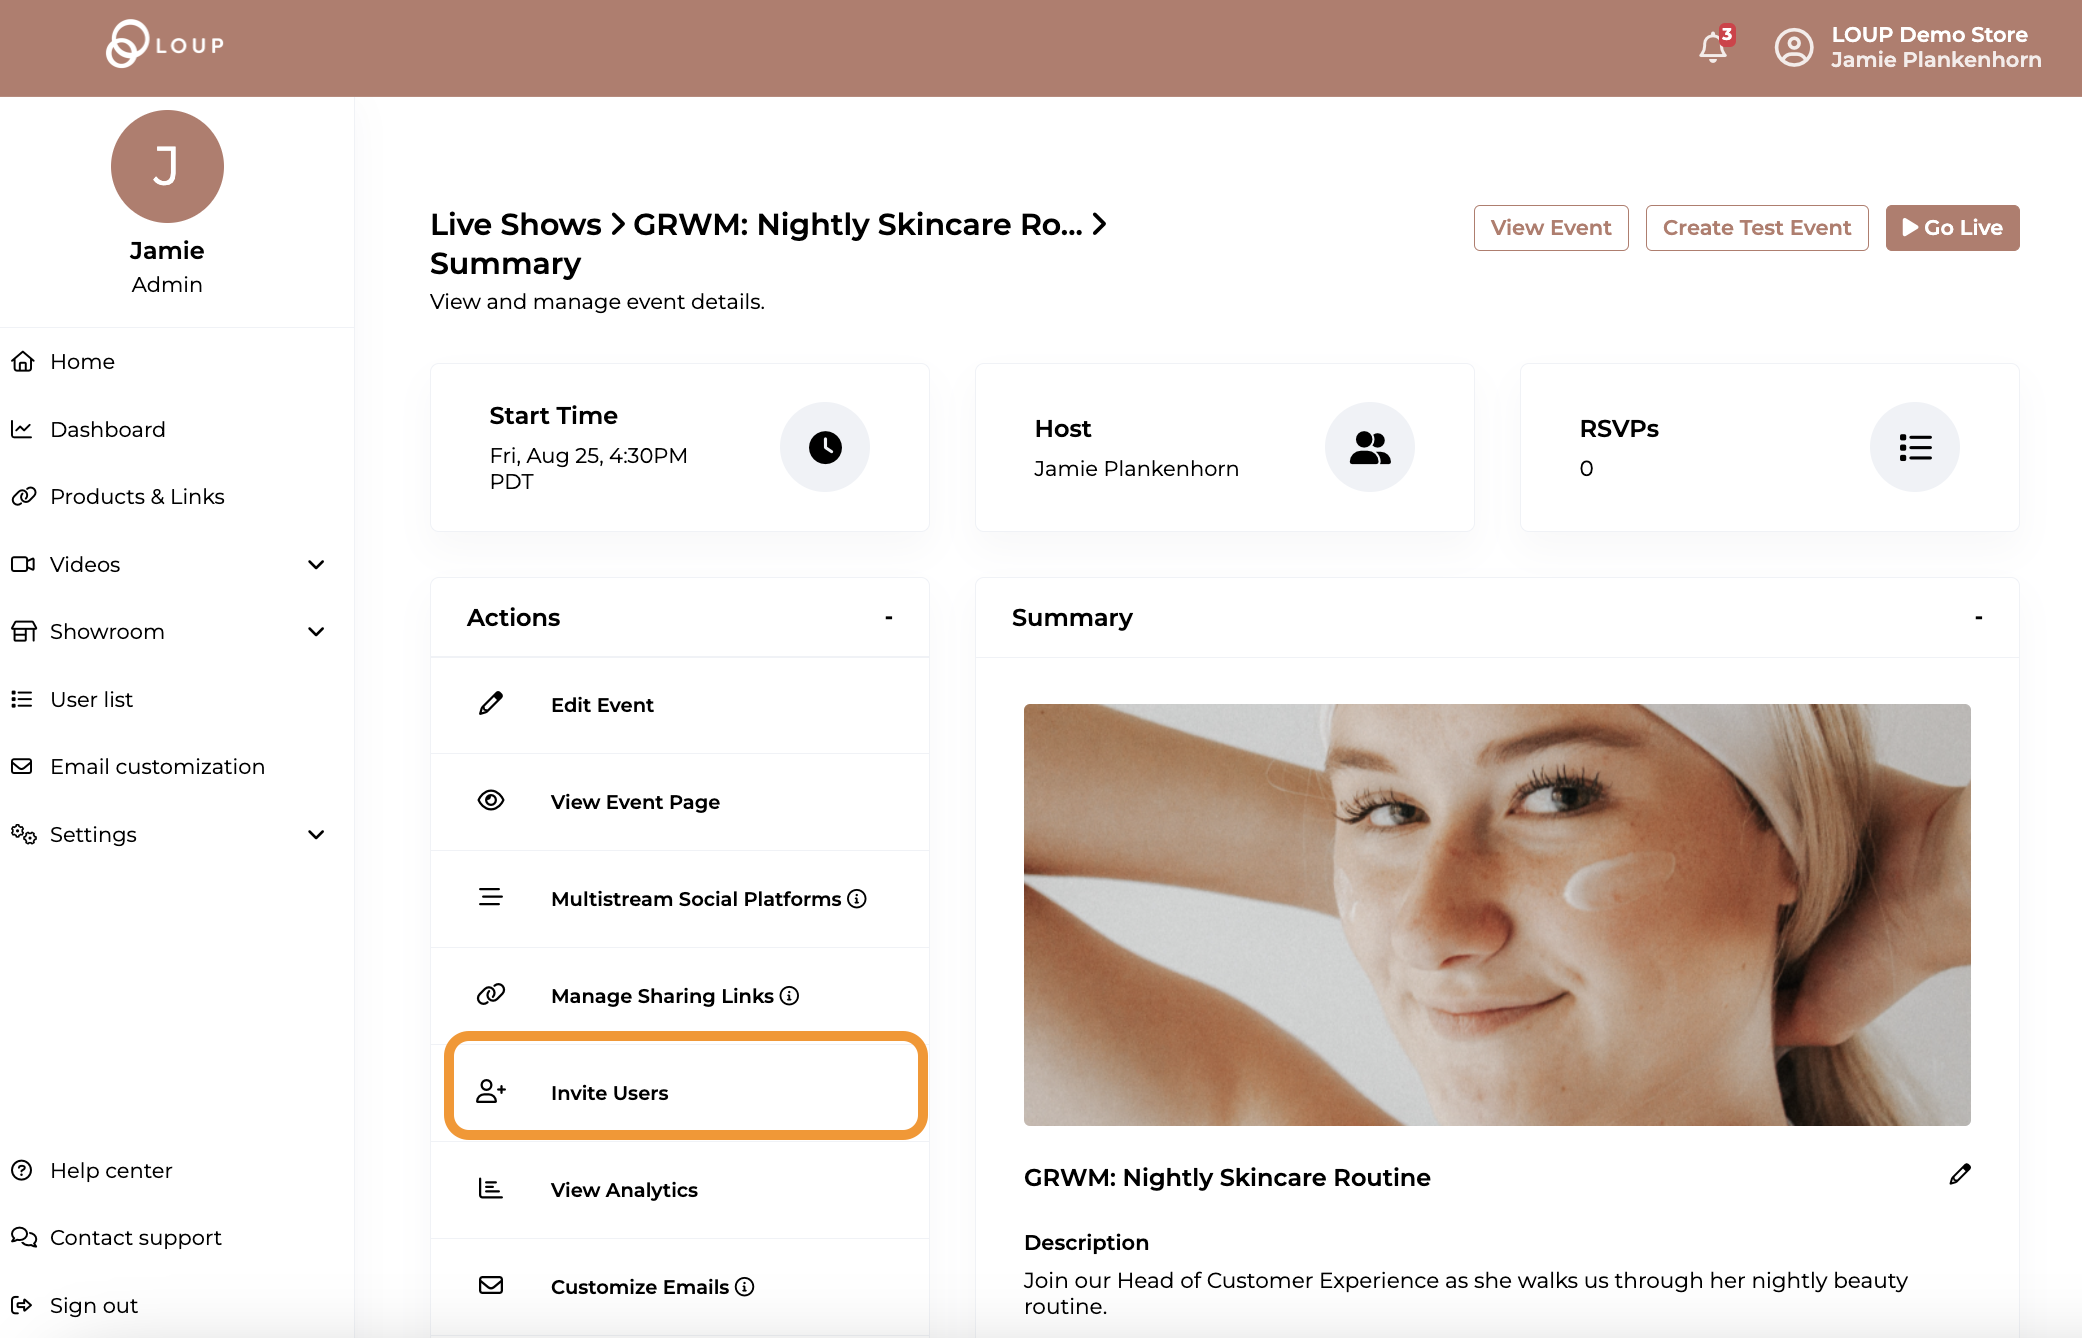
2. Click on the name of the event you are going to invite customers to, in this case “GRWM: Nightly Skincare Routine”:

3. In the actions column, click Invite Users.
4. There are Four ways you can invite customers to your event: Upload a .csv file, input email addresses manually, if you're using our Klaviyo integration select a Klaviyo list or Select a User List.

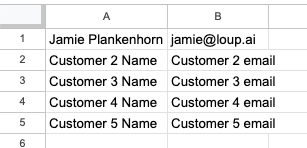
a. If you are uploading a .csv file, make sure that column A is your customer name (both first and last in one field) and column b is the email address. You do not need to have a header on either column (for example Column A, row 1 can be your first name and Column B row 1 can be your first email address):
b. If you are entering email addresses manually, separate the name and the email address with a comma. Use the (i) for an example: 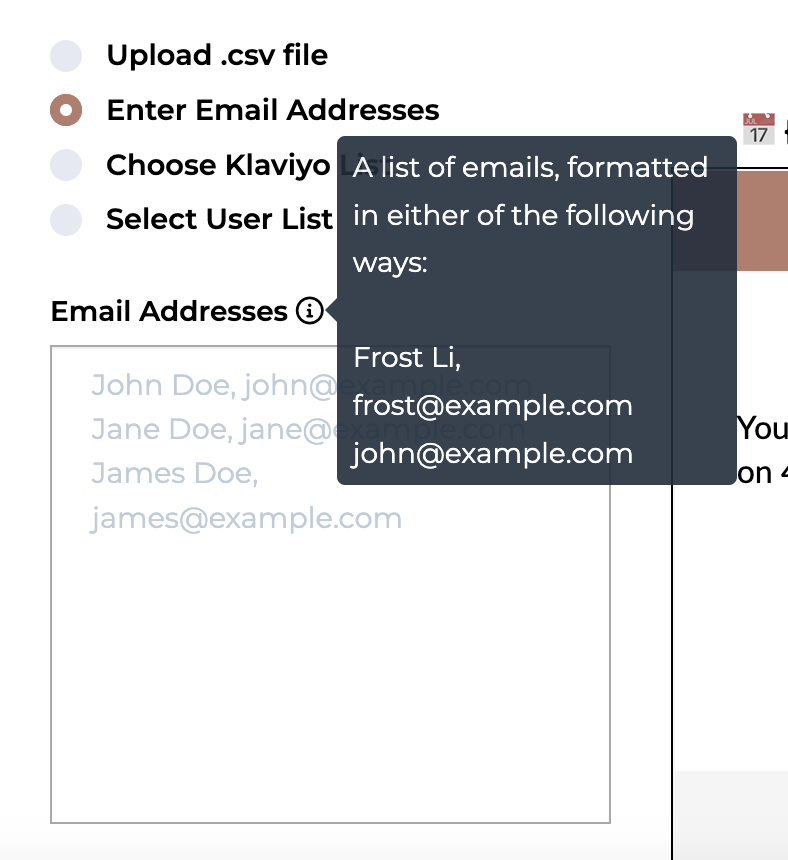
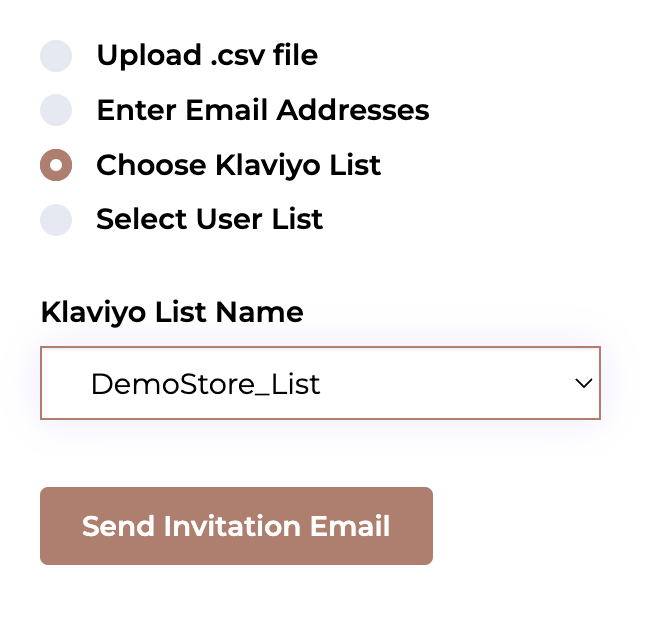
c. If you are choosing a Klaviyo list, Select the list name from the dropdown that appears when the “Choose Klaviyo list” is selected:
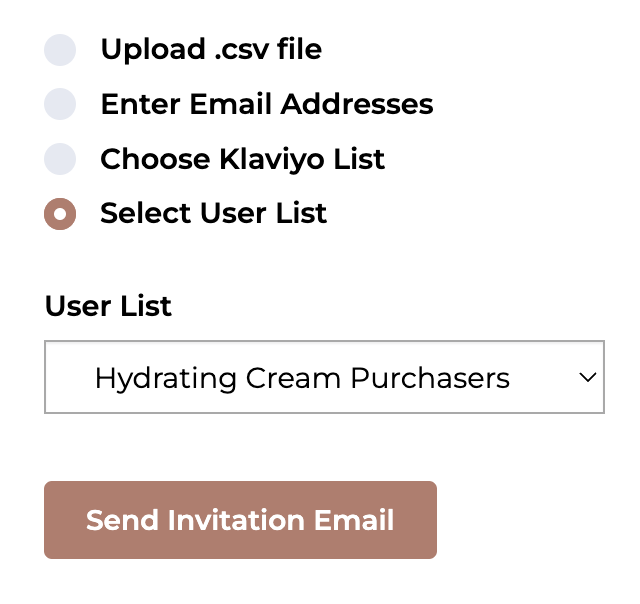
d. If you are choosing a User list, Select the list name from the dropdown that appears when the “Select User list” is selected:
5. Click “Send Invitation Email” button once your list has been selected or created. An invitation email will immediately be sent to all emails. You will get a confirmation email of how many emails were sent. 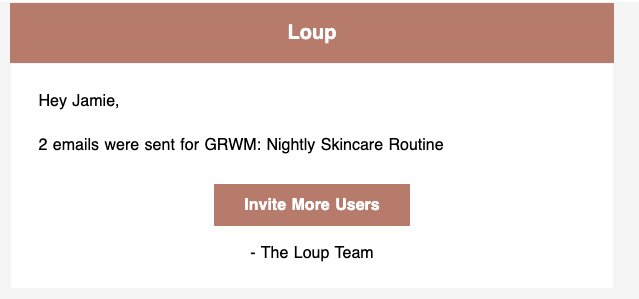
Want to personalize the template before it goes out?
Check out our article on how to customize emails before you hit ‘send’.